How To Install Windmaster Roof Vent

Tornado Turbine Industrial Roof Ventilation System Roof Ventilation Roof Ventilation Systems Roof Turbine Ventilation Industrial Ventilation Industrial Ven

Bradford Ventilation Windmaster Diy Install Guide Youtube

Windmaster 250mm Clear Turbobeam Whirly Bird Roof Vents Diy Installation Roof

Edmonds Windmaster Youtube

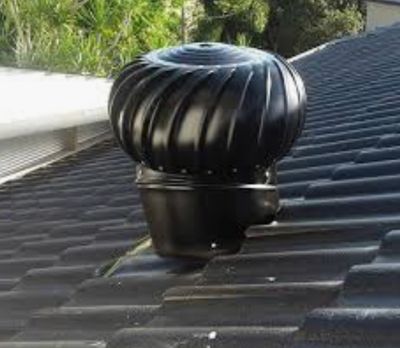
Crown Ventguard Black 3 Plumbing Vent Plumbing Accessories Plumbing
Roof Ventilation Hancock Pest Control
It s easy to do yourself and we ll show you how.
How to install windmaster roof vent.

Supavent Roof Vents Ascent Building


Pin On A General Moorabbin

Roofing Companies In Cedar Rapids Iowa Whirlybird Roof Vent Installation

How To Replace Bearings On A Whirlybird Roof Ventilator Youtube

Non Venting Copper Chimney Cover With Angled Base And Flat Roof Nv003 Chimney Cap Roof Cap Flat Roof

Exterior Sheathing Top 5 Exterior Wall Sheathing Options For New Home Builds Building A House

How To Install A Whirlybird On A Metal Roof Youtube

Rain Cowls For Chimneys Google Search Chimney Cowls Chimney Cap Sculpture
How To Install A Whirlybird Like A Pro Roof Ventilation Whirlybirds Australia

Chimney Time Ifunny Chimney Cleaning Chimney Cap Brick Chimney

Pin By Yalong Fiberglass Pultrusion On Fiberglass Channel Cable Tray Cable Tray Fiberglass Manufacturing

Aluminum Chimney Cap Metal Design Vt Chimney Cap Chimney Design Craftsman Exterior

Aspiravent Aspiradorestatico Sombrerete Capuchon Rematefinalchimenea Chimenea Rematedechimenea Fundament Doma Obshivka Dom

Windmaster International Pty Ltd Exports To Zimbabwe Namibia Malawi By Windmaster International Pty Ltd Trepup Com

Bolt On Turbo Cowl Grey Exterior Chimney Cap Chimney Cowls

Stainless Steel Chimney Cap With Flat Roof Ch007 Chimney Cap Flat Roof Roof Cap

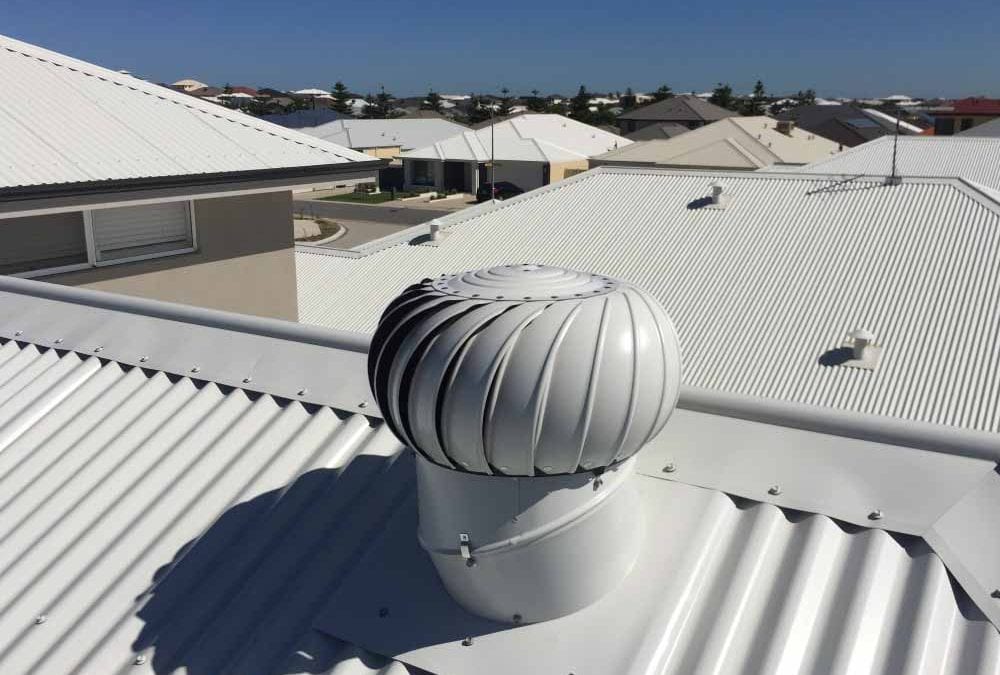
Windmaster Aluminium Turbine Ventilator Calidad Skylights Perth
1

Boston Real Estate Now Solar Attic Fan Attic Renovation Attic Ventilation

Roof Ventilation Perth By Attic Lad Wa Attic Ladder Installation Perth

Windmaster Whirlybird Solar Whiz Whirly Birds Alternative

Whirlybirds Whirlybird Roof Vents Wa Whirlybirds Roofing Vents

Static Roof Vents Bert Roofing Dallas Roof Vents Vented Roof
Source : pinterest.com
