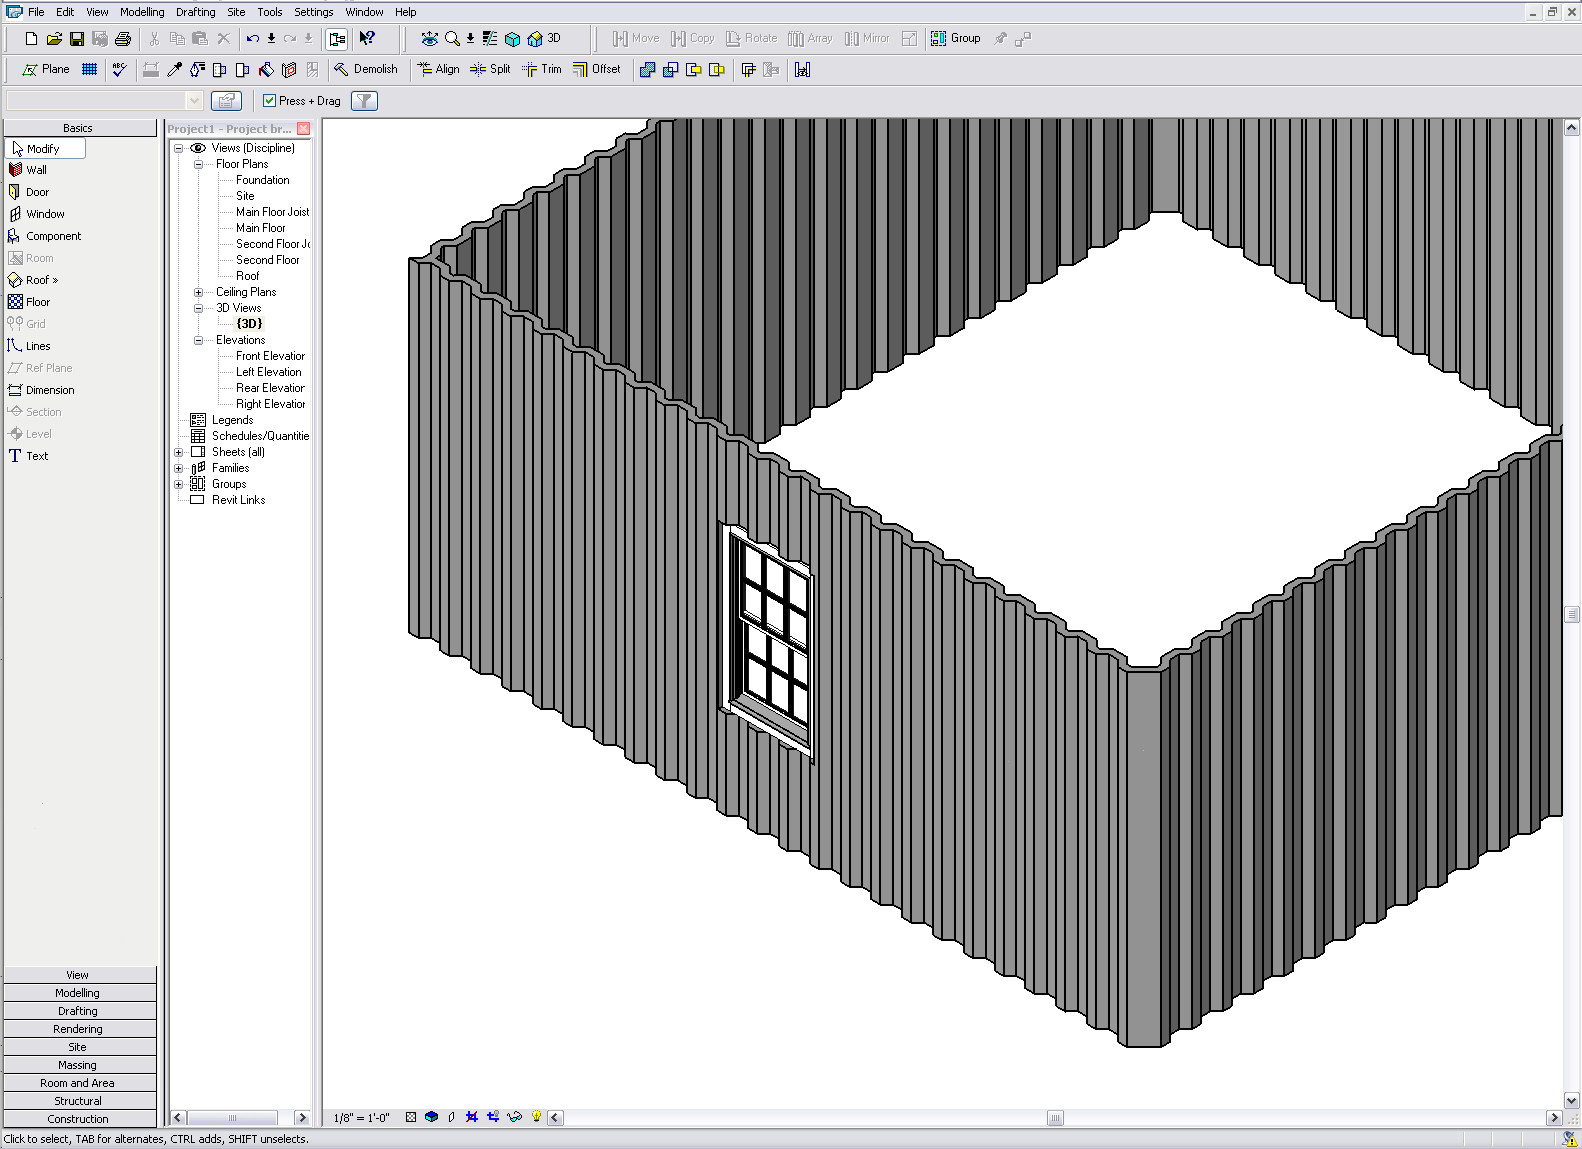
How To Split Siding In Revit

Siding Facade In Revit Tutorial Youtube

Revit Wood Cedar Siding Wall Youtube

How To Model Board And Batten Siding In Revit Youtube

Solved Sheathing And Siding Overlapping Issue Autodesk Community Revit Products

Wood Metal Framing Enhancements Bridging Openings Siding And More Agacad
Creating Vinyl Siding Wall Cadnotes

Hardiplank but have the top 1 or so on slanted and straight profiles to have a reveal and be metal instead of the siding.
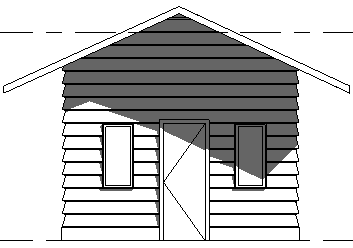
How to split siding in revit.

Revit Demo How To Model Exterior Cladding Youtube

Solved Exterior Panel Using Pattern With Offset Autodesk Community Revit Products

Purcell Timber Frames The Precrafted Home Company House Plans Barn House Plans Timber Framing

Summer S Coming Why Fiber Cement Siding Will Keep Your Home Cool Fibre Cement Cladding Cement Siding Fiber Cement

Cross Gable Roof Gable Cross Gable Roof Revit Gable Roof House Gable House Ranch House

How To Frame Wall Parts Agacad

Floor And Wall Finish Won T Join Autodesk Community Revit Products

Image Result For Poche Cabinets In Section Revit House Cladding Exterior Cladding Wood Cladding Exterior

Arkitektprosjekt Skagen Arkitektur Arkitekter Moderne Hytte

Plan 510097wdy Engaging Two Story House Plan With Split Bedrooms Two Story House Plans Story House House Plans

Metal Building Examples Residential Commercial With Images Metal Buildings Revit Architecture Residential

Mayberry Split Level Traditional House Plan With Images House Plans Traditional House Plan Split Level House Plans

Gray Siding With Brick House Paint Exterior Red Brick Exteriors Craftsman Exterior

Epingle Sur 2d 3d Bim Object Library

Is The Split Level House Making A Comeback What Real Estate Investors Should Know Level Homes Split Entry Architecture

For 5 I Will Design Your Architectural And Structural Project Drawing With Revit And Autocad In 2020 2 Storey House Design Duplex House Design Simple House Design

Paterniti Malena Construction814 860 79141811 W 8th Sterie Pa 16505 Certainteed Exterior Trim Building Materials
Revitcity Com 3d Corrugated Metal Wall How To Do It
Https Encrypted Tbn0 Gstatic Com Images Q Tbn 3aand9gcrmionzqozurfoab1lriq6fbnhhyhjivtk3dk4ikhvll28ytowf Usqp Cau

Pin Em Projects

Pin By Jenifer Thomas On Exteriors Cedar Homes Building A House Nyc Interior Design

Exterior Design Autodesk Revit Exterior Design Revit Architecture Architecture Exterior

Fish Tales Restaurant In Lodi Wi Log Homes House Styles Log Siding

Frosted Glass Garage Door Revit Why Garage Doors Glass Garage Door Modern Garage Doors
Source : pinterest.com
