How To Waterproof Roof Valley

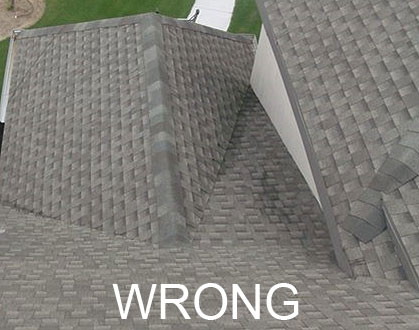
Tips For Roofing Be Sure You Inspect The Valleys On Your Own Roof If You Are Experiencing A Leak Anywhere At Home A V Roof Maintenance Roofing Roofing Diy

Waterproofing A Valley On A Corrugated Iron Roof Roof Rats Waterproof Roof

Roof Valley Flashing Material Options Sparrow Exteriors

Diy Roof Maintenance Checklist And Roof Repair For Shingles With Photos Part 2 Roof Maintenance Shingling Roof Repair

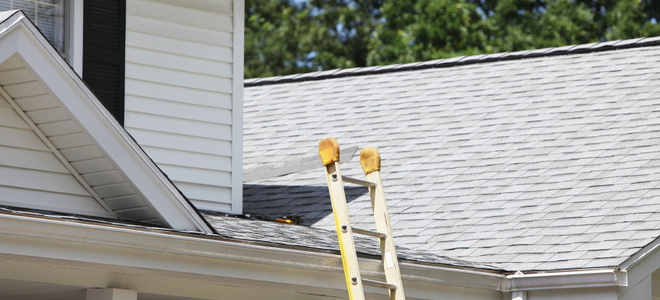
Avoid Damage And Maintain Your House By Looking After Installed Gutters If Not Repair Or Even Replacement Costs Will Soar On Gutters Gutter Colors Downspout

Mastering Roof Inspections Flashing Part 5 Internachi

Once the roof valley has begun to leak you will need to cover the valley with flashing in order to prevent a repeat of the problem.
How to waterproof roof valley.

A Dead Valley Is An Area Or Detail In Your Roof System That Doesn T Allow Water To Riun Off As It Would Normally Roofing Systems Roof Valley

Image Result For Valley Roof Drain Detail Roof Drain Design Details Roof
Problem Areas Dayus Roofing

Roof Framing Geometry Off Angle California Valley Framing Roof Framing Flat Roof Extension Roof Extension

Patio Addition With Multiple Pitches Tying A Patio Roof Into Existing House Patio Makeover Patio Addition Patio Roof

Pin On Home Diy

Sw Valley On House Gazebo Roof Modern Farmhouse Exterior House Roof
How To Install Roof Flashing Where 2 Roof Valleys Meet Doityourself Com

Pacific Palisades Roof Coatings 310 500 6960 Foam Roofing Pacific Pal Foam Roofing Roof Coating Roof Coatings

Roof Valley Rain Water Diverter Tests Gutter Drainage Rain Water Collection System Gutters

Pin On Construction Details

Diy Waterproofing Roofing Screws Flat Roof White Dress

Olsen Copper Roof Copper Exclusive

How To Roof A House Roof Underlayment Roof Shingles

How To Tie Low Pitch Roof Into Sides Of House Or Build Up Porch Roof Patio Roof Roof Design

Roofing Shingles Make Sure To Inspect The Valleys On Your Roof In Case You Are Experiencing A Leak Anywhere In In 2020 Roofing Roof Shingles Types Of Roof Shingles

Pin On Flat Roof

Choosing Roof Sealant For Your Rv Or Motorhome Roof Sealant Liquid Roof Camper Repair
Https Encrypted Tbn0 Gstatic Com Images Q Tbn 3aand9gctei Dueaprm86fzcibf0iuieuybee Xzpfruszd W45qskb0h Usqp Cau

Custom Designed And Built Pergola By John A Poulakos At Valley Of Wisconsin Client Requested Outdoor Fireplace By Other Pergola Rustic Pergola Pergola Images
Pin By Davikmiler On Roof Repair Simi Valley Ca Roofing Contractors Roofing Systems Cool Roof

Exterior Waterproofing Nj Foundations South Jersey Airtight Design Waterproofing Basement Crawl Waterproofing Basement Basement Remodeling Wall Waterproofing

Tips To Help Homeowners Choose The Right Roofing Contractor With Images Roof Repair Palm Beach Gardens

Nailing Too Close To Center Of Valley Oakville Roof Maintenance
Source : pinterest.com
